

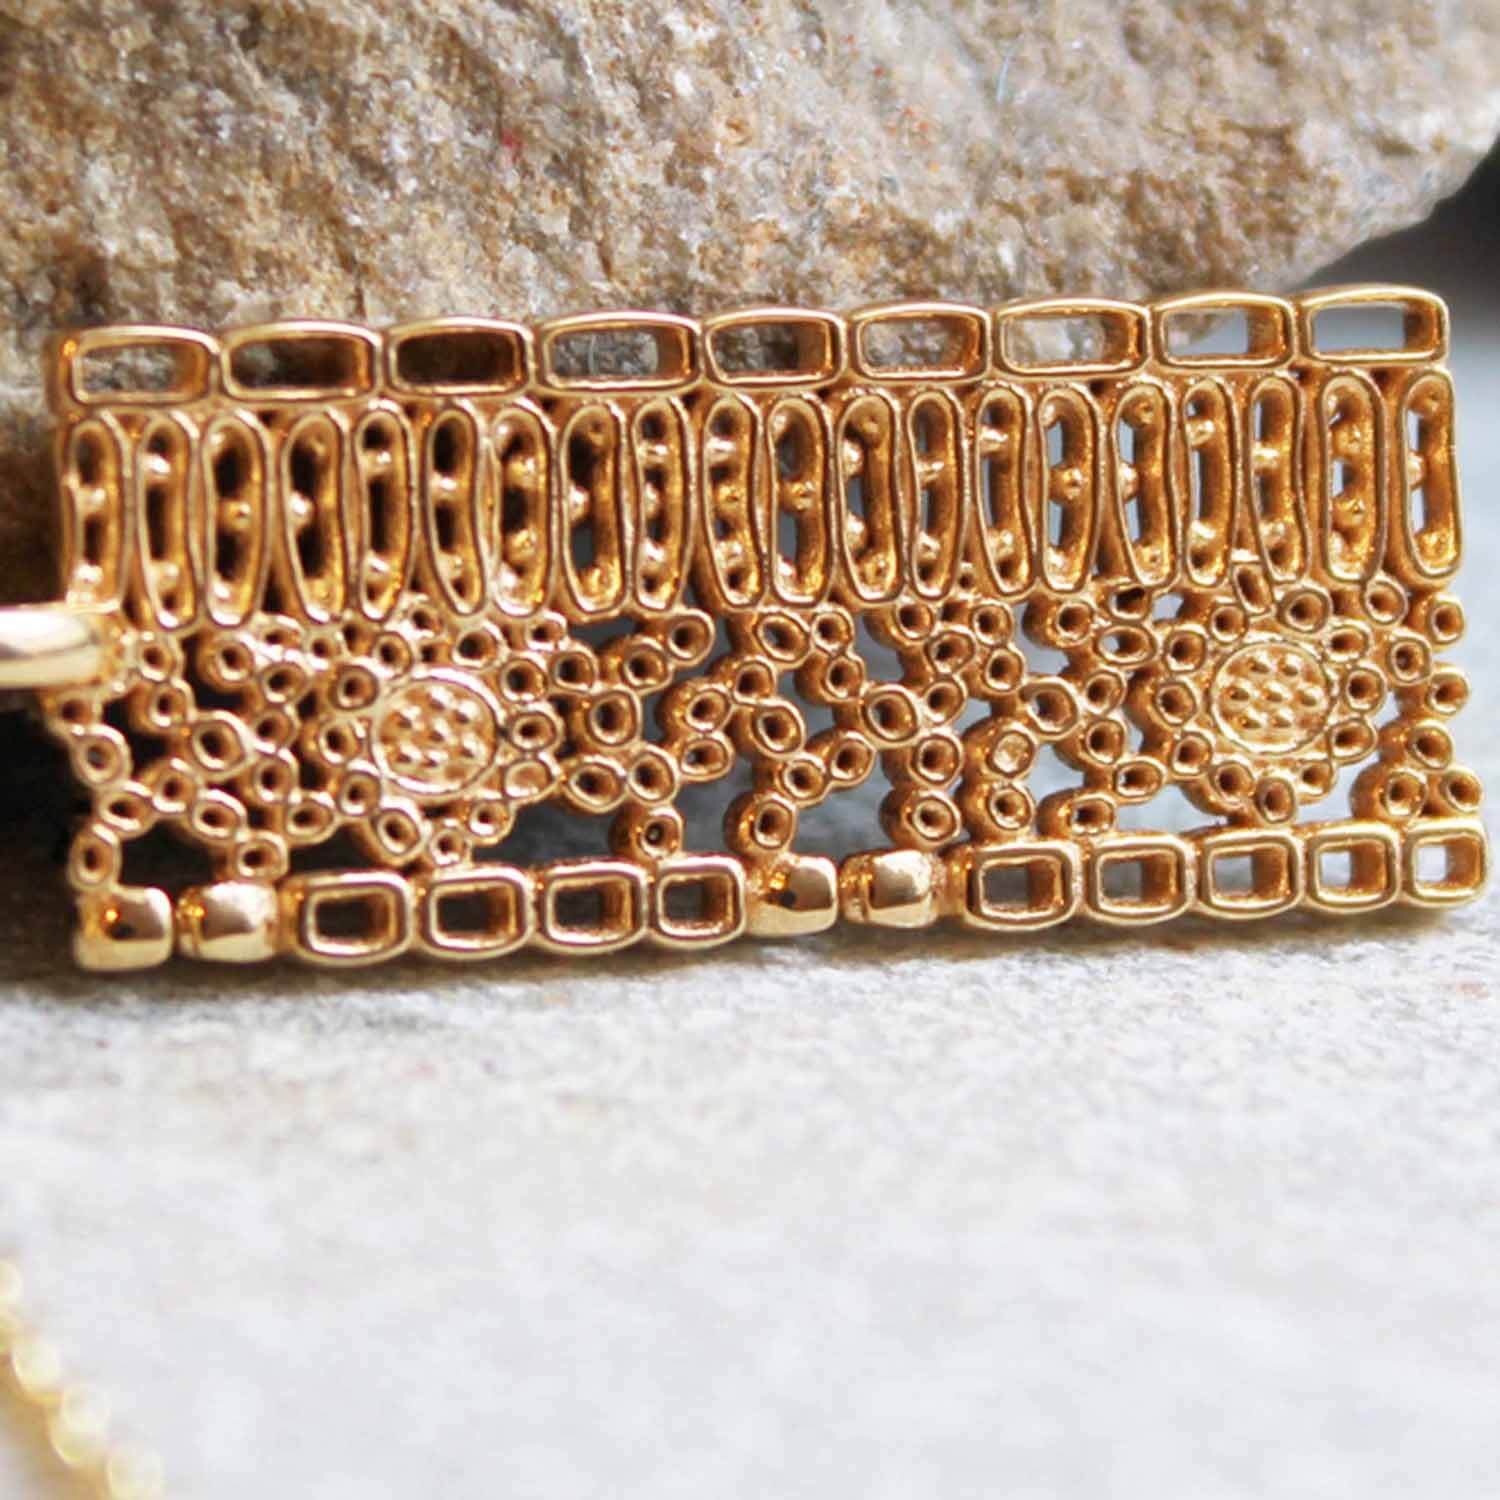
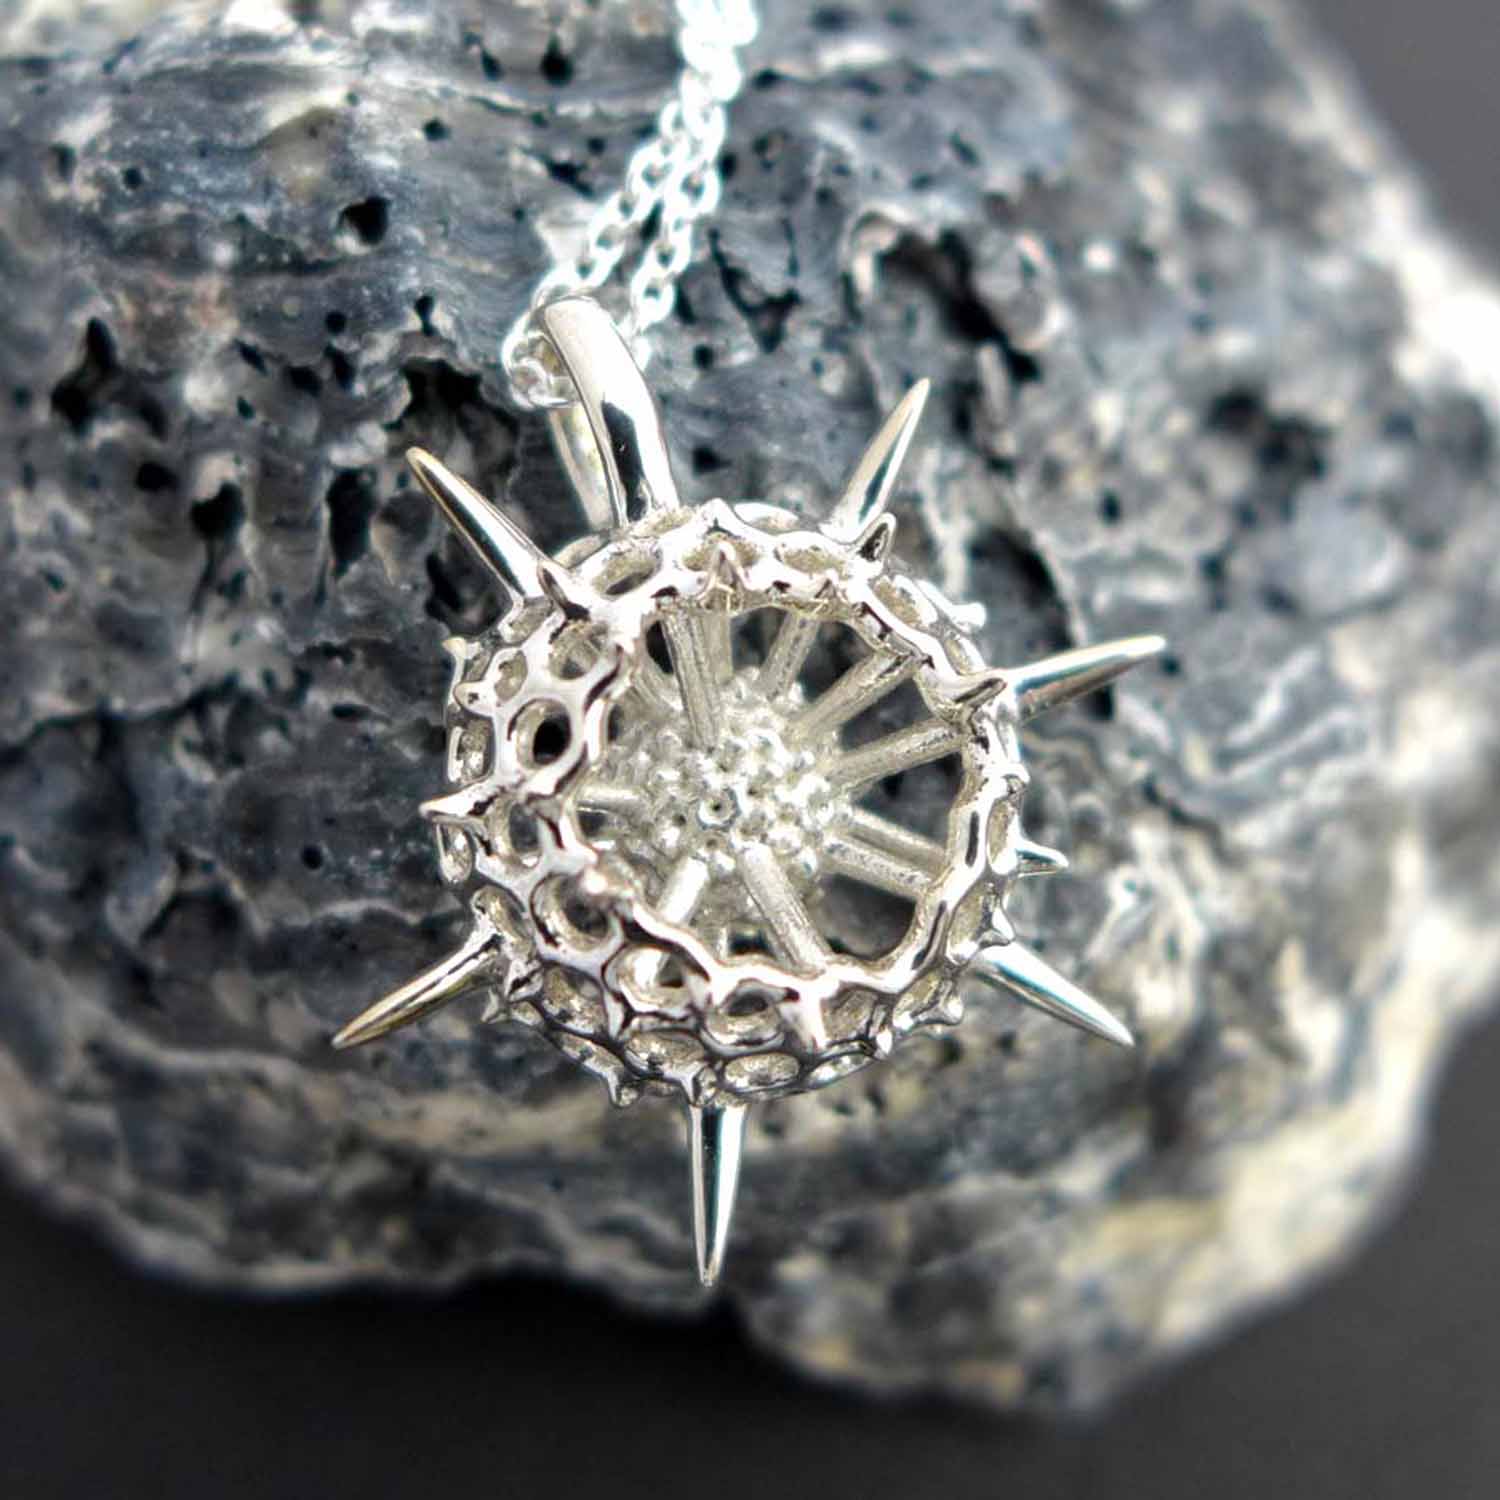
Quick Guide to 3D Printing Your Own Precious Metal Jewelry
I get a lot of "how" questions. How do you design your jewelry? How does metal 3D printing work? How can I learn to do it myself? With this quick guide, I'm going to outline my process. This is not an exhaustive tutorial, but it should get you going in the right direction if you decide to start designing and 3D printing your own jewelry.
1. Design your 3D Model
First off, you're going to need a 3D model. To get a 3D model, you need to learn some type of CAD (computer aided design) software. I'll be perfectly honest, this is the hardest part. If you're a complete beginner, you might want to try out the web-based design app Jweel. It's limited in the designs that are available, but it is a great way to dip your toes into 3D printed jewelry design.
For versatility, though, look to TinkerCad, Sketchup, and Blender. There are other software packages, but they're expensive and I wouldn't recommend investing in sophisticated software until you've tried out the free ones. I've been using Blender for 9 years, and although it has a steep learning curve, it's the best of the three for creating the organic shapes that are critical to my design style. There are a ton of online tutorials for Blender, but you only need to pay attention to the modeling tutorials. There's no need to worry about animation, rigging, texturing, lighting or rendering because you won't be using any of those functions, making Blender automatically a little less daunting. The latest version of Blender is 2.8 and it has a completely reorganized user interface compared to previous versions. This means that older tutorials are going to be a bit difficult to follow. Don't despair, though, I'm sure someone is uploading brand new tutorials on modeling in Blender 2.8 as you read this.
2. Scale your 3D Model
If you now have a model, let's make it printable. I'm going to explain how to do this in Blender. For other software, please consult its user manual. Your model must be scaled to a printable size. My pendants, for example, range in size from roughly 1.5 cm in diameter to 3.5 cm. The default Blender measurement is metric, and when you open a new scene, the cube in the middle measures 2 meters on each side. Obviously, that's a bit large for a piece of jewelry. To convert your cube to more reasonable dimensions, go to the properties panel (bottom right side of screen), select the scene context, go to the units dropdown and select cm or mm under length. The dimensions of the cube will now be 200 cm/2000 mm per side as shown in the transform panel (toggle it on with the key n). Take your cube and scale it to a reasonable size (s key and move your mouse to scale smaller). When your cube is about 2 cm, set this scale by typing ctrl a (command a on a Mac) and clicking apply scale.

3. Export your 3D Model
If you want your model to be printed in a cast metal like silver, gold, bronze or brass, you will probably be uploading it to a 3D printing service like Shapeways, i.Materialise or Sculpteo. These companies accept many different file formats, but two of the safest bets are .stl and .obj. I work with .stl files, so I'll show you how to export an .stl from Blender. If you are using a different modeling software, please consult its user manual for how to export files.
Once you've set the scale on your model as described above, simply select your model in Blender and click file, export, stl. Under the Export STL tab on the left, make sure you check the box selection only, otherwise Blender will export every single mesh in the blend file as one stl when all you really wanted was that one perfect ring model. I don't know why Blender doesn't make "selection only" the default since I can't imagine a situation where you would want to export every mesh as one stl, but it is what it is. Don't forget to check that box, but if you do forget, you'll be made aware of that mistake in the next step (and you can go back and fix it).
4. Fix your Model
"Fix my model?" you say, "is it even broken?" Well, there's a good chance there are some glitches in your 3D model that will prevent 3D printing. The biggest culprit is holes. You need a model that is manifold, i.e., no holes. Luckily, you don't need to hunt down all those holes yourself, especially since many of them are so tiny you may not be able to see them. For this step, you need a software that fixes 3D models. I've used NetFabb and 3D builder. Some designers use MeshLab. Just pick your favorite, install it, and learn how to use it.
Here's my workflow with NetFabb: (a) project > add part, (b) check the dimensions in the bottom right panel. For some crazy reason, when you export an .stl from Blender, the scale is often simply wrong. To fix it, click part > scale > scale factor and set this number so the correct scale shows in the bottom right panel. Using the example of our 2 cm cube, if NetFabb shows the size as .02 mm, set the scale factor to 1000 so that the cube is 20 mm (2 cm) per side. (c) click on the red cross to start the repair, (d) click automatic repair, execute default repair, (e) apply repair, remove old part and finally, (f) part > export part > as stl.
At step (a), if instead of seeing one part, you see many, this is because you forget to select the box "selection only" when exporting in Blender. Go back to Blender, re-export with the box checked, and repeat step (a) with the new .stl.
5. Upload your Model
Pick your favorite 3D printing service, upload your model, choose your material and place your order. It's a good idea to first have your model printed in a less expensive material before you commit to one of the precious metals. I usually print in Shapeways' fine detail plastic first. This material is relatively inexpensive and gives a close approximation to the detail that will be in your final metal print.

For more information on how to design for 3D printing, the tutorials over at i.materialise cover a lot more ground than I have in this short guide. I hope this information has been helpful. If you have any questions, don't be afraid to ask them in the comments below. Happy jewelry designing!
Leave a comment